
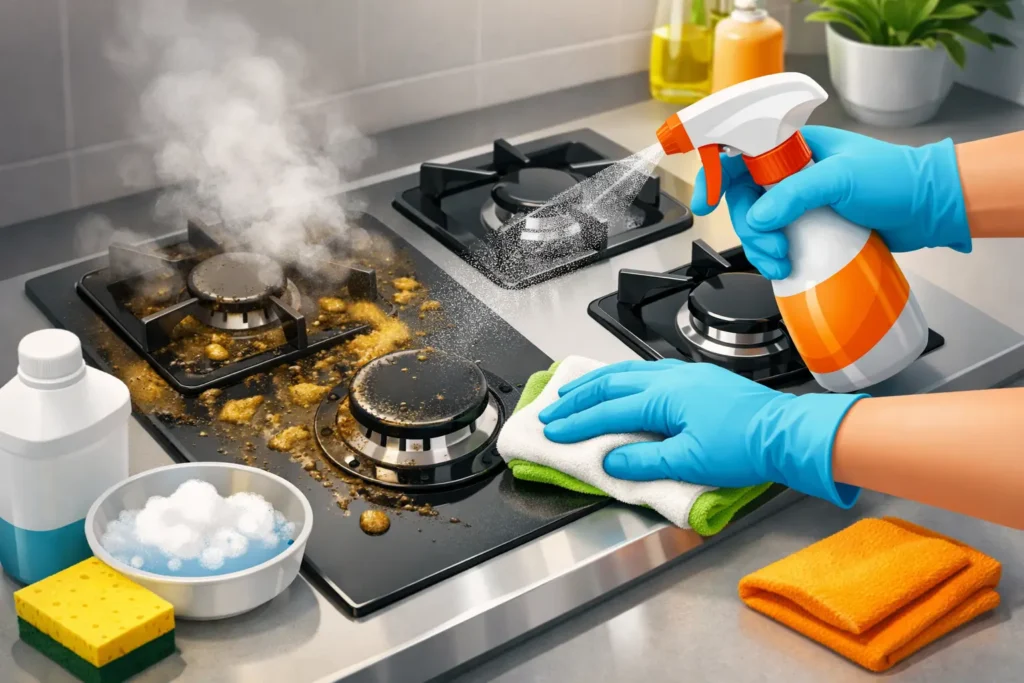
A stovetop can look clean after a quick wipe yet still feel sticky around the burners, knobs, and edges. Learning how to degrease stovetop safely means removing that cooked-on film without scratching the finish, flooding electrical parts, or filling your kitchen with overpowering fumes. The best method is not necessarily the strongest cleaner. It is the right combination of cool surfaces, controlled moisture, gentle tools, and enough contact time to let grease release.
Start Safe Before You Start Scrubbing
Turn every burner off and let the stovetop cool completely. Cleaning a hot surface can create steam, cause splattering, and make cleaning products dry too quickly. On a gas range, make sure the flame is fully out. On an electric or induction cooktop, wait until the residual-heat indicator has gone dark and the surface feels cool.
Remove pans, utensils, and loose crumbs first. A dry microfiber cloth or soft brush makes this step easy. Clearing debris before adding moisture prevents crumbs from turning into an abrasive paste that can scratch glass and enamel.
Avoid spraying cleaner directly onto control knobs, igniters, burner openings, vents, or display panels. Spray or apply the solution to your cloth instead. This gives you better control and helps keep liquid away from components that should stay dry.
If you use a commercial degreaser, read the label for the surfaces it is designed to clean. A product that performs well on a stainless-steel backsplash may be too harsh for coated grates, aluminum parts, or a glass cooktop. Never mix cleaning products, especially bleach with ammonia-based products or acids. Stronger is not safer, and mixing chemicals can create harmful fumes.
Choose a Degreasing Method for Your Stovetop
Most everyday grease responds well to warm water, dish soap, and a soft cleaning cloth. Dish soap is made to break up oils, making it an effective first choice for routine stovetop care. Add a few drops to warm water, dampen a microfiber cloth, and wring it out well. The cloth should be damp, not dripping.
Wipe the entire surface with light, overlapping strokes. Give greasy areas a minute or two of contact time before wiping again. This small pause does much of the work, so you do not have to press hard or reach for an overly abrasive pad.
For heavier buildup, use a kitchen-safe degreaser approved for your particular surface. Apply it sparingly to a cloth, work in small sections, then wipe with a fresh damp cloth to remove residue. Finish with a dry microfiber cloth for a clear, streak-free result.
A simple baking soda paste can help with isolated spots on durable enamel or stainless steel. Mix baking soda with just enough water to form a soft paste, apply it gently, and wipe it away after a few minutes. Do not use this method on every surface without checking the manufacturer guidance. Baking soda is mild, but repeated scrubbing can dull certain finishes.
Gas Stovetops: Clean Around Burners Carefully
Gas stovetops have more removable parts, which is useful but calls for a little patience. Once everything is cool, lift off the grates and burner caps. Wash these pieces in warm, soapy water, using a non-scratch sponge for stuck-on residue. Letting them soak first can save significant scrubbing time.
Wipe the cooktop base with a damp, soapy cloth, taking care around the igniter and burner ports. Do not soak these areas or poke burner openings with toothpicks, pins, or wire. A soft, dry brush is a safer choice for loose debris.
Dry burner caps and grates completely before putting them back. Caps that are not seated correctly can lead to uneven flames or difficulty igniting the burner. If the flame looks irregular after cleaning, turn the burner off, let it cool, and check that each piece is aligned and dry.
Glass and Induction Cooktops: Keep Abrasives Away
Glass cooktops show grease quickly, but they also show scratches and cloudy residue. Use a soft microfiber cloth and a cleaner made for glass or ceramic cooktops when needed. For everyday grease, warm soapy water is often enough.
Never use steel wool, scouring powder, oven cleaner, or a rough scrubber on a glass surface. These can leave permanent marks or damage the cooktop’s finish. If food has baked onto the glass, soften it with a damp cloth and cooktop cleaner first. A cooktop scraper may be appropriate only if your appliance manufacturer permits it, and it should be held at a shallow angle with a clean, sharp blade.
After degreasing, wipe once with a clean damp cloth and dry thoroughly. Leftover cleaner can leave a hazy film that becomes more noticeable the next time the cooktop heats up.
Electric Coil and Stainless-Steel Stovetops
For electric coil ranges, do not submerge the coils or let cleaning solution pool around their connections. Wipe cooled coils with a lightly damp cloth only, then dry them fully. If drip pans are removable, take them out and wash them separately in warm, soapy water.
Stainless steel benefits from gentle wiping in the direction of the grain. Going against the grain or using a rough pad can make smudges and fine scratches more visible. Use a soft cloth with soapy water, rinse with another damp cloth, and dry right away. Drying is what brings back the clean, polished look without water spots.
The Best Tools for Safe, Effective Results
Your tool choice makes a visible difference. A high-quality microfiber cloth lifts grease and moisture without leaving lint behind. Keep one cloth for washing, one for rinsing, and one for drying if your stovetop has heavy buildup.
For removable grates, burner caps, and drip pans, choose a durable non-scratch sponge rather than a harsh scouring pad. A tool with a comfortable grip helps you apply steady, controlled pressure without over-scrubbing. PowerMax cleaning tools are designed for these everyday kitchen jobs, helping you move from greasy details to a fresh final wipe with less effort.
Use paper towels only for absorbing a large spill or blotting excess oil. They can tear, leave fibers behind, and do not lift grease as efficiently as a reusable microfiber cloth. For narrow seams near knobs or around burner bases, a soft detailing brush or folded cloth works better than forcing a large sponge into the space.
Common Degreasing Mistakes to Avoid
The most common mistake is cleaning while the surface is still warm. It may seem efficient, but it raises the risk of burns and can bake cleaner residue onto the surface. Waiting for the stovetop to cool is worth the few extra minutes.
Another mistake is using too much water. A soaked sponge can send water under knobs, around igniters, or into seams where it takes longer to dry. Work with a wrung-out cloth and rinse it often instead.
Be cautious with vinegar, lemon, and other acidic cleaners. They can be useful for mineral deposits in some areas of the kitchen, but they are not a universal grease solution. Acidic products may affect natural stone nearby, aluminum components, or certain protective finishes. Likewise, oven cleaner is designed for oven interiors, not for routine stovetop cleaning.
Finally, do not rely on aggressive scrubbing to solve every problem. If grease is stubborn, apply your safe cleaner, wait a few minutes, and repeat. Time and gentle repetition protect your stovetop far better than force.
How Often Should You Degrease a Stovetop?
A quick wipe after cooking keeps grease from building into a sticky layer. For most homes, a more thorough degreasing once a week is enough. If you fry foods often, cook for a large family, or use oil-heavy recipes, clean the stovetop more frequently.
Give removable parts extra attention every few weeks, or sooner when you notice discoloration, smoke, odor, or uneven burner performance. Regular care takes only a few minutes and prevents the long, frustrating cleanup that follows months of buildup.
A clean stovetop is not just about appearance. It helps your kitchen feel more comfortable, keeps cooking areas easier to maintain, and lets the finish you paid for stay looking its best. Keep a microfiber cloth and a surface-safe cleaner within reach, and the next greasy splash becomes a simple wipe instead of a weekend project.