
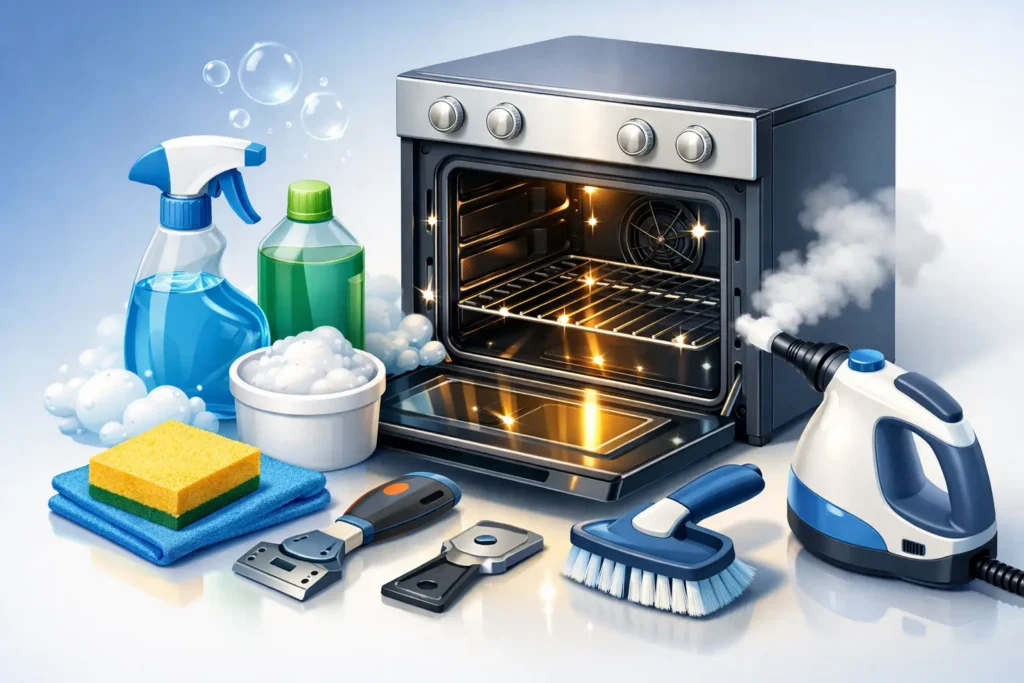
A splattered oven door and a greasy oven floor can make even a clean kitchen feel unfinished. The best tools for oven cleaning help you break down baked-on residue without turning a weekend chore into an exhausting scrub session – or damaging the surfaces you rely on every day.
The right setup is not about using the harshest tool possible. It is about matching each tool to the job: a gentle cloth for glass, a durable scrub sponge for stuck-on food, and a narrow brush for the corners that collect grease. With a few dependable essentials, oven cleaning becomes faster, safer, and far more satisfying.
The Best Tools for Oven Cleaning by Task
Ovens have several distinct surfaces, and each needs a different level of cleaning power. The enamel interior can handle more pressure than the glass door, while racks need tools that can reach between bars. Choosing surface-safe tools gives you visible results without unnecessary scratching.
A durable scrub sponge for baked-on messes
A quality scrub sponge is the everyday workhorse for oven cleaning. Use it on cooled oven interiors, door frames, and removable racks after your cleaner or baking soda paste has had time to loosen grease. The scrubbing side lifts stubborn residue, while the softer side is useful for wiping away foam and remaining soil.
Look for a sponge with a comfortable shape and a durable scouring surface that stays effective through more than one cleaning session. A sponge that feels easy to hold also gives you better control around corners, rack supports, and the oven floor. PowerMax scrub sponges are designed for practical household tasks like these, combining reliable scrubbing power with an easy-grip feel.
The trade-off is simple: even a dependable scourer should be tested in a hidden spot first, especially on specialty finishes. Skip extra-aggressive pads on painted trim, aluminum components, and delicate glass.
A non-scratch sponge for oven glass
The oven door is where cleaning efforts are most visible. Grease haze and baked-on splatters can make glass look cloudy, but abrasive tools can leave fine marks that are difficult to remove. A non-scratch sponge paired with a suitable glass or oven cleaner offers controlled cleaning power without rough treatment.
Work with the glass cool to the touch. Apply cleaner, allow it to sit as directed, then wipe in small sections. For thick residue, hold a warm, damp cloth against the area for several minutes before you scrub. Softening the buildup first means less pressure is needed.
Avoid using dry abrasive pads or metal tools directly on oven glass. A tough stain may be frustrating, but a scratched window is a permanent result.
Microfiber cloths for polish and final wipe-downs
Microfiber cloths do the finishing work that makes an oven look truly clean. After scrubbing, use a clean damp microfiber cloth to remove cleaner residue from the door, control panel, handle, and exterior. Then use a dry cloth to buff away streaks on glass and stainless steel.
Their fine fibers pick up grease and moisture effectively, which helps reduce repeated wiping. Keep separate cloths for greasy oven interiors and clean exterior surfaces. That small habit prevents old grease from transferring back onto handles or surrounding cabinets.
For the best result, rinse your cloth frequently during the job and switch to a fresh one when it becomes heavily soiled. A cloth that is already saturated with grease cannot leave a flawless finish.
A detail brush for seams and tight corners
The narrow gaps around the oven door, hinges, rack rails, vents, and knobs can hold more grime than you expect. A small cleaning brush with firm bristles reaches these areas far better than a large sponge. It is especially useful for lifting crumbs and sticky residue along the door seal area.
Use light pressure near seals and moving parts. The goal is to remove surface dirt, not force water or cleaner into areas where it does not belong. A detail brush also works well on removable knobs and the grooves around control panels when used with a lightly damp cloth.
A plastic scraper for thick, stuck-on residue
A plastic scraper is one of the most useful tools for a neglected oven. After softening burnt food with an oven cleaner or baking soda paste, a plastic scraper can lift thick residue from the oven floor and rack surfaces without the harsh contact of metal.
Hold the scraper at a low angle and work slowly. If the residue does not move easily, stop and let your cleaning solution work longer. Scraping harder is rarely the answer, especially on enamel surfaces.
Plastic is the safer choice for most household ovens. Metal blades can be effective in limited cases, but they demand careful technique and are generally a poor fit for coated interiors, glass, and everyday home cleaning.
A rack brush or scouring pad for oven racks
Oven racks often carry the heaviest grease because drips bake onto the bars during high-heat cooking. Remove them from the oven and clean them separately in a sink, bathtub, or large utility basin. A sturdy brush or durable scouring pad can reach around the bars and lift greasy buildup more efficiently than a flat cloth alone.
Soaking makes a major difference. Warm water and a degreasing solution can soften residue before you start scrubbing, which saves time and reduces strain on your hands. Place an old towel beneath the racks if cleaning in a bathtub to help protect the surface.
Tools to Avoid When Cleaning an Oven
More force does not always mean better cleaning. Some common tools can cause scratches, wear down protective finishes, or create a bigger problem than the grease itself. Keep these four items out of your oven-cleaning routine unless your appliance manufacturer specifically approves them:
- Steel wool, which can scratch enamel, glass, and stainless steel.
- Metal spatulas or knives, which can gouge coated oven interiors.
- Highly abrasive scouring pads on glass doors or control panels.
- Excessively wet sponges around electrical controls, vents, and door openings.
If you are unsure about a surface, check your oven care instructions. Manufacturers may have specific guidance for catalytic liners, steam-clean functions, self-cleaning cycles, and specialty coatings.
Build a Simple Oven-Cleaning Routine
The best tools for oven cleaning work even better when you clean before grease has months to harden. Wipe fresh spills once the oven has cooled, especially sugary sauces, melted cheese, and roasting drips. A quick pass with a damp microfiber cloth after cooking can prevent a deep-cleaning job later.
For a regular refresh, clean the glass door, handle, and visible interior surfaces every few weeks or whenever splatters appear. Plan a more thorough clean when smoke develops during cooking, odors linger, or the oven door no longer looks clear.
Start by removing loose crumbs and racks. Apply your chosen cleaning solution and give it enough contact time. Then use the appropriate sponge, brush, or scraper for each area. Finish with clean, damp microfiber cloths until no residue remains. This final rinse matters because leftover cleaner can create fumes or marks the next time the oven heats up.
Wear gloves if you are using a strong oven cleaner, keep the kitchen ventilated, and never clean a hot oven. If your oven has a self-clean feature, remove racks and follow the manufacturer directions before starting the cycle.
A clean oven does more than improve the look of your kitchen. It helps reduce smoke from old spills, keeps cooking odors fresher, and makes the next cleanup easier. Stock a reliable scrub sponge, non-scratch sponge, microfiber cloths, detail brush, and plastic scraper, and you will be ready when dinner leaves its mark.