
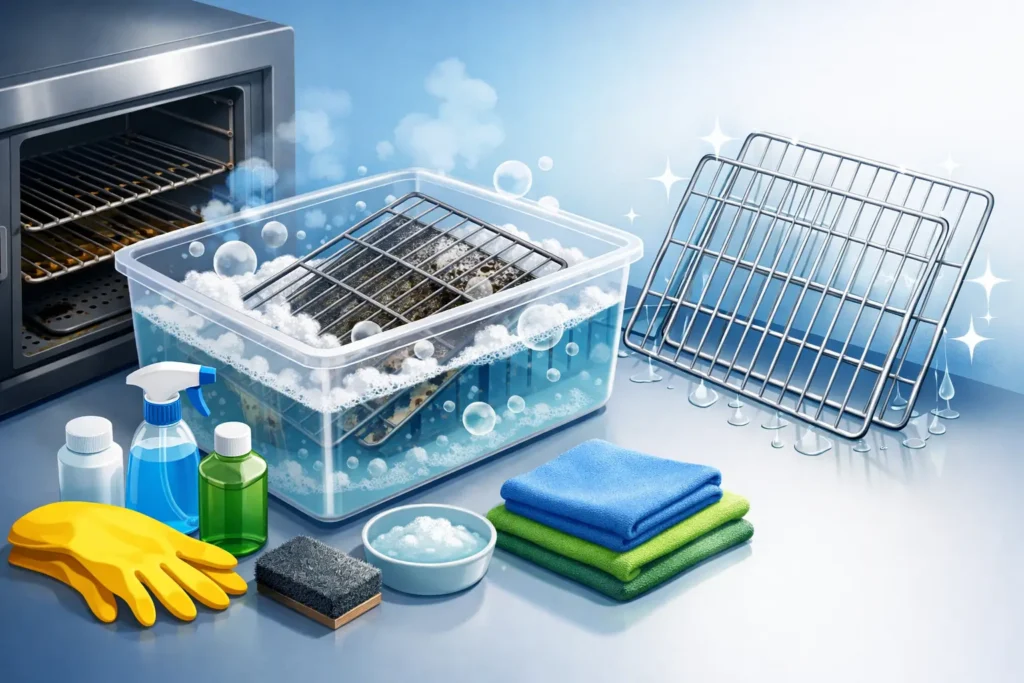
A spotless oven can still look unfinished when the racks are coated in dark, sticky grease. Learning how to clean oven racks makes a noticeable difference in your kitchen, but it does not have to mean hours of harsh scrubbing. With the right soak, a dependable scrub sponge, and a little patience, even baked-on residue can loosen up.
The best method depends on how dirty your racks are, the space you have, and how quickly you need them back in the oven. Start with the gentlest effective option, then move up only if stubborn grease remains. That approach protects the rack finish while saving effort.
Before You Clean Oven Racks
Wait until the oven and racks are completely cool. Pull the racks straight out, using both hands, and place them on an old towel, a large baking sheet, or a protected counter. This prevents scratches on surrounding surfaces and keeps loose crumbs from spreading across the kitchen.
Check your oven manual if you still have it. Most standard chrome or stainless-steel racks can be cleaned with warm water, dish soap, baking soda, and a non-scratch scrubber. Some specialty racks may have a finish that needs more careful treatment. If the racks are coated, painted, or labeled as dishwasher-safe, follow the manufacturer’s directions first.
Avoid putting oven racks through a self-cleaning cycle unless your oven manufacturer specifically says it is safe. The extreme heat can discolor, warp, or damage the smooth coating that helps racks slide in and out easily.
The Easiest Way to Clean Lightly Soiled Racks
For routine grease and splatters, warm water and dish soap are often all you need. This is the best choice when the racks feel greasy but do not have thick black buildup.
Fill a sink, utility tub, or bathtub with enough hot water to cover the racks. Add a generous amount of grease-cutting dish soap, then let the racks soak for 30 to 60 minutes. The warm, soapy water softens the residue so it releases more easily.
After soaking, use a durable non-scratch scrub sponge or scouring pad to work along each bar. Focus on corners, welded joints, and the areas where pans usually sit. A PowerMax scrub sponge gives you a comfortable grip for targeted cleaning without turning a simple kitchen task into a wrestling match.
Rinse thoroughly with warm water and dry each rack with a clean microfiber cloth. Do not slide wet racks back into the oven. Drying them completely helps prevent water spots and keeps moisture from sitting in the rack supports.
How to Clean Oven Racks With Baking Soda
When grease has baked on over several cooking sessions, baking soda adds gentle scrubbing power. It is a practical choice for households that want a less aggressive alternative to strong chemical cleaners.
Lay the racks in a towel-lined bathtub or large basin. The towel matters: it protects both the bathtub and the metal racks from scratches. Sprinkle baking soda over the racks, paying extra attention to dark, crusted areas. Then slowly add enough warm water to cover them.
Let the racks soak for at least two hours. For heavy buildup, leave them overnight. The baking soda helps loosen cooked-on residue, but the soak time does much of the real work. Rushing straight to scrubbing usually means more effort and less satisfying results.
Drain the water and scrub the bars with a damp scouring sponge. Make a simple paste from baking soda and a few drops of water for any remaining stubborn patches. Apply it directly, let it sit for 10 minutes, and scrub again with steady pressure. Rinse well until no gritty residue remains, then dry thoroughly.
Baking soda is surface-friendly for most standard racks, but it is not magic. Very old carbon buildup may need a second soak or a stronger cleaning approach.
Use an Ammonia Soak for Heavy Grease
For racks covered in thick, blackened grease that will not budge with soap or baking soda, an ammonia vapor treatment can be effective. This method requires care, fresh air, and strict attention to product safety.
Place each rack in a large, sturdy trash bag outdoors or in a well-ventilated area away from children and pets. Add about one-half cup of household ammonia to the bag. You do not need to cover the rack with liquid. The fumes help soften baked-on grease. Seal the bag, set it in a shallow container in case of leaks, and leave it overnight.
The next day, open the bag outdoors and avoid breathing in the fumes. Wearing gloves, remove the rack and rinse it thoroughly with plenty of water. Most residue should wipe away with a sponge or cloth. Wash the rack again with dish soap and warm water before drying it completely.
Never mix ammonia with bleach, chlorine-based products, or any other cleaner. Combining cleaning chemicals can create dangerous fumes. If strong odors trigger headaches or breathing discomfort, skip this method and use repeated baking soda soaks instead.
What Not to Use on Oven Racks
A tougher tool is not always a better tool. Steel wool, sharp blades, and highly abrasive scouring products can scratch the metal finish. Scratches may make racks harder to clean over time and can affect how smoothly they move in the oven.
Also avoid harsh oven cleaner unless the product label specifically states it is suitable for oven racks. Many oven cleaners are designed for oven interiors and can be too aggressive for rack finishes. If you choose a commercial cleaner, test it on a small, less visible area first and follow the label exactly.
Dishwashers can be convenient, but they are not always the best answer. Large racks may interfere with spray arms, and strong dishwasher detergent can dull some finishes. Hand cleaning is usually more reliable, especially for heavily soiled racks.
Make Scrubbing Faster and Easier
The difference between a frustrating job and a quick one often comes down to timing. Let water and cleaner do the loosening before you start scrubbing. A sponge that holds its shape, a cloth for drying, and a towel to protect your work area keep the process efficient from start to finish.
Work one section at a time instead of trying to scrub the entire rack at once. Hold the rack steady, clean each horizontal bar from end to end, then turn it over to reach the underside. For narrow grooves around joints, fold a damp nonwoven cloth and pull it gently back and forth like a shoeshine rag.
If grease is still sticking after a good soak, do not press harder immediately. Reapply baking soda paste or return the rack to warm, soapy water for another 20 minutes. Giving residue more time to soften is kinder to the rack and easier on your hands.
Keep Oven Racks Cleaner Between Deep Cleans
A quick wipe after messy meals prevents grease from turning into a stubborn cleaning project. Once the oven is cool, remove fresh splatters from the rack with a damp cloth and a small amount of dish soap. This small habit is especially helpful after roasting, broiling, or baking dishes that bubble over.
Use a baking sheet or roasting pan that is large enough to catch drips, and place foil only where your oven manufacturer allows it. Foil placed directly on oven surfaces can block airflow or create safety problems, so it is better to protect the pan than to line the oven itself.
Plan a deeper rack clean whenever you clean the oven interior, or sooner if you notice smoke, sticky spots, or a burnt smell during cooking. Clean racks move more smoothly, look better, and help your whole oven feel ready for the next meal.
A little soak time now can spare you from heavy scraping later. Keep a quality scrub sponge and microfiber cloth within reach, and oven-rack cleanup becomes one more simple step toward a fresher, more satisfying kitchen.